

[LA PRESET]
LA – Lightroom Preset
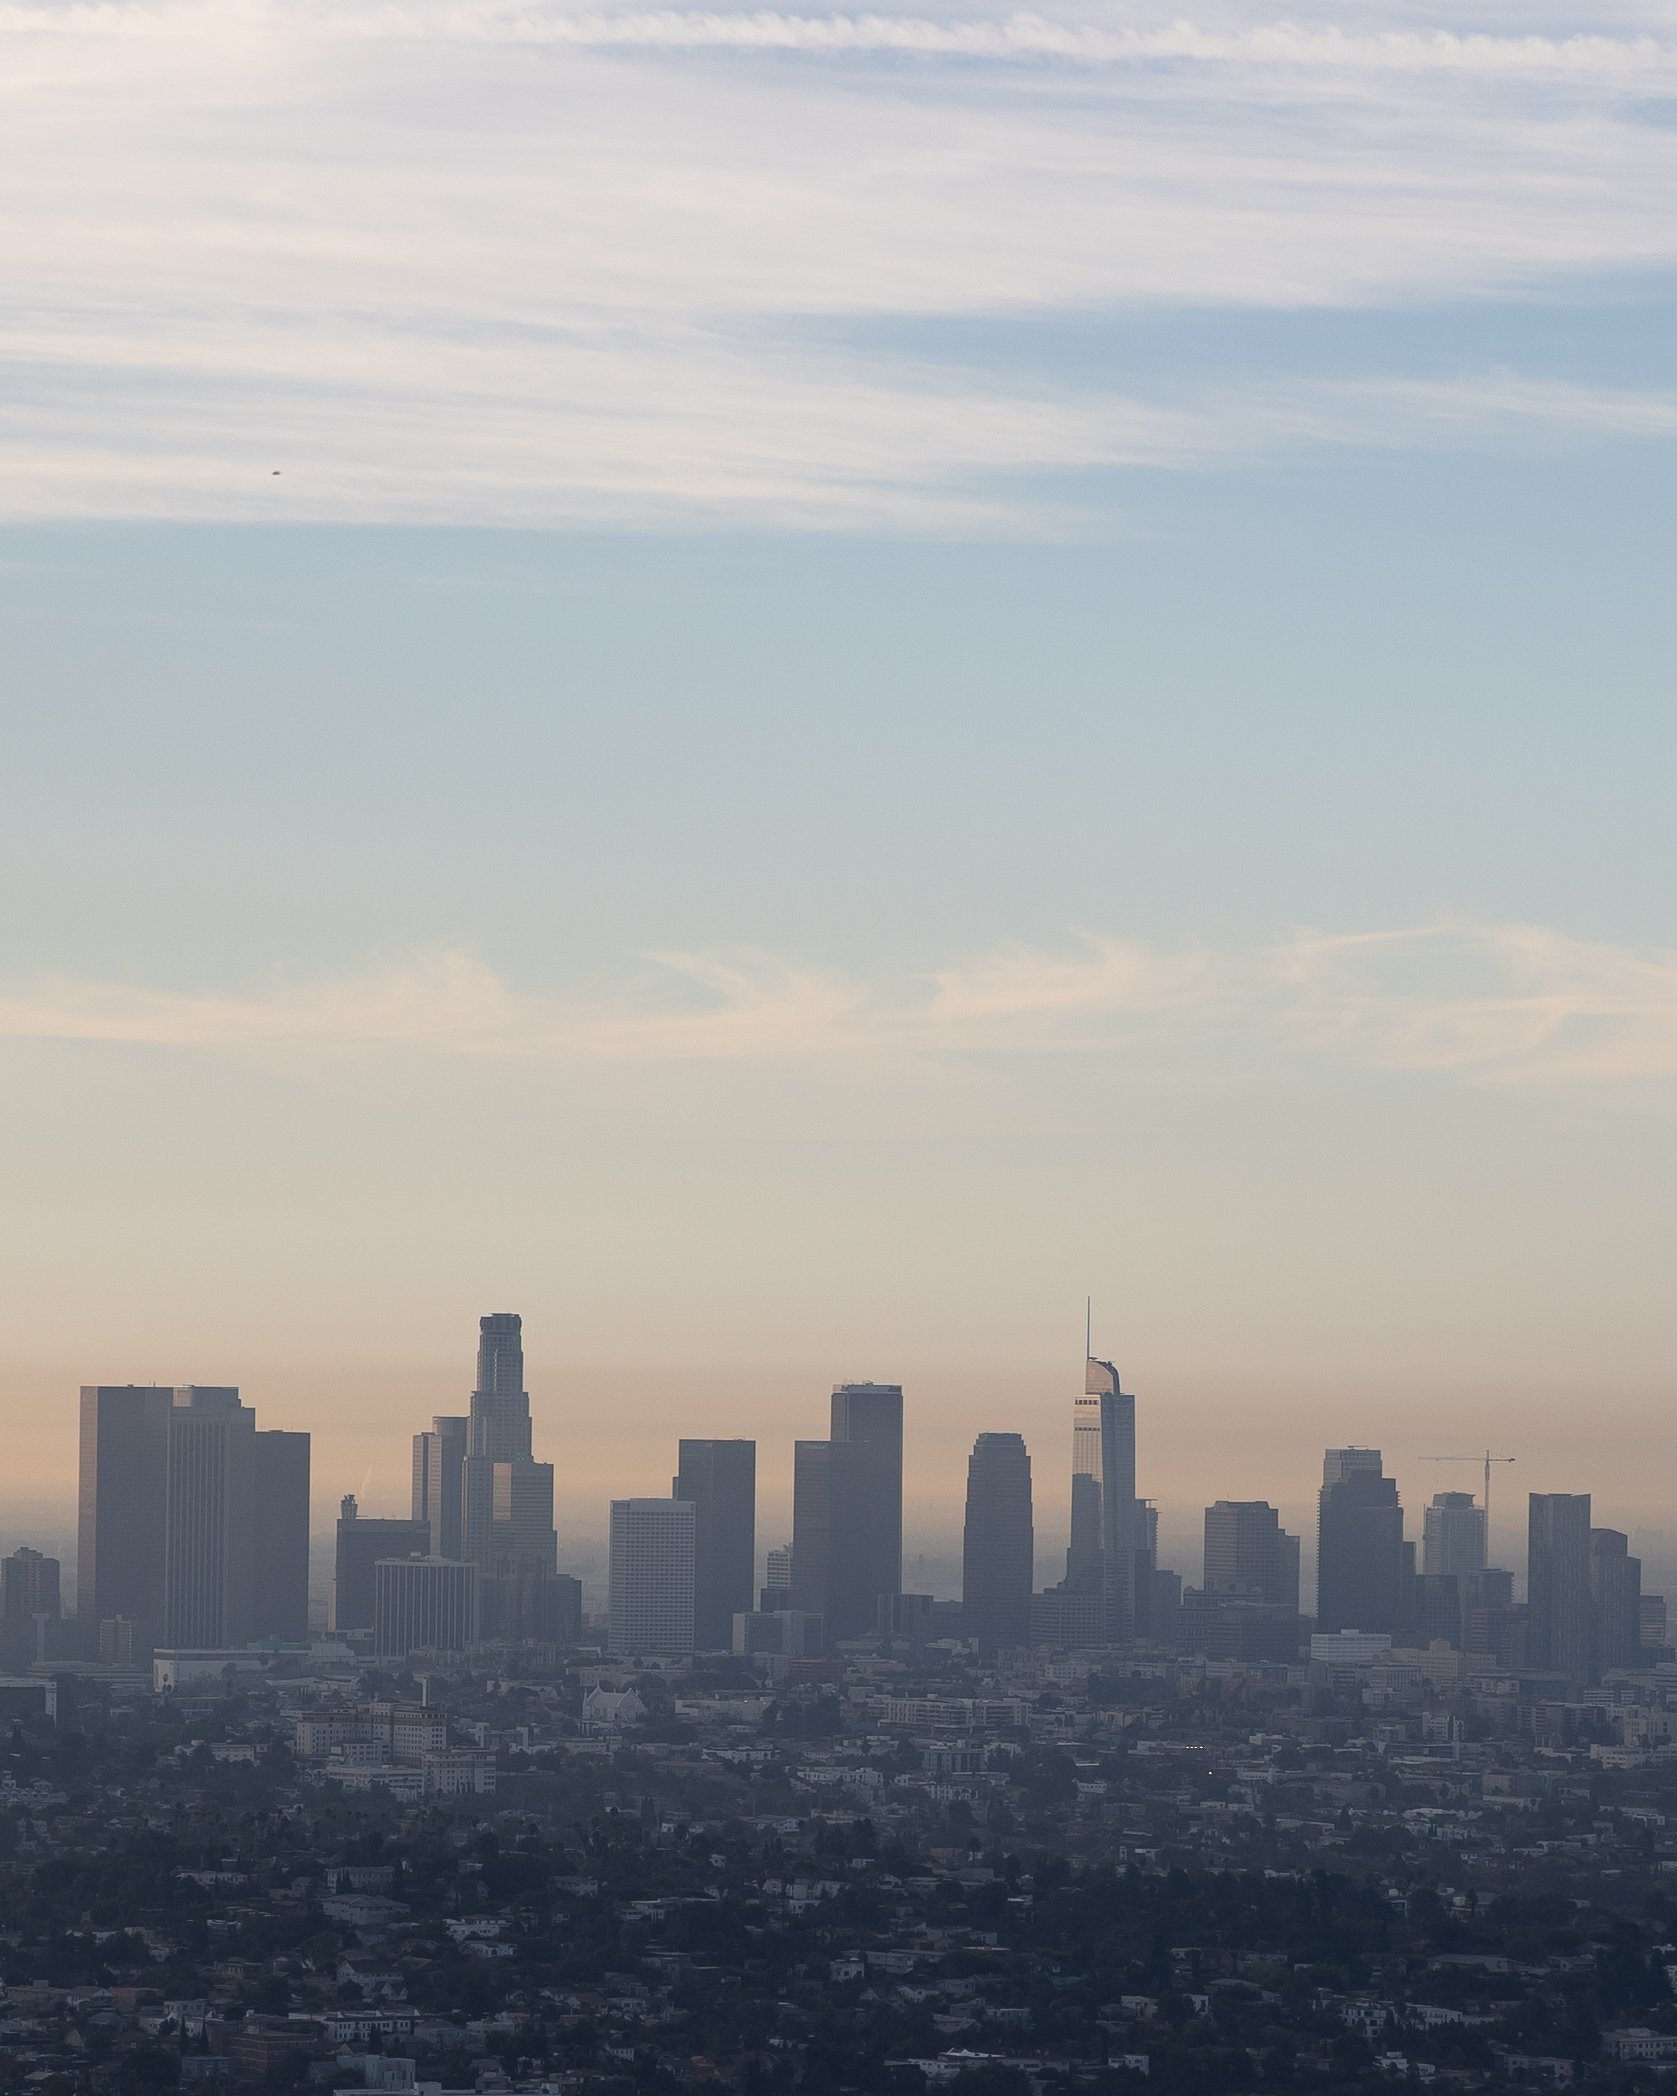
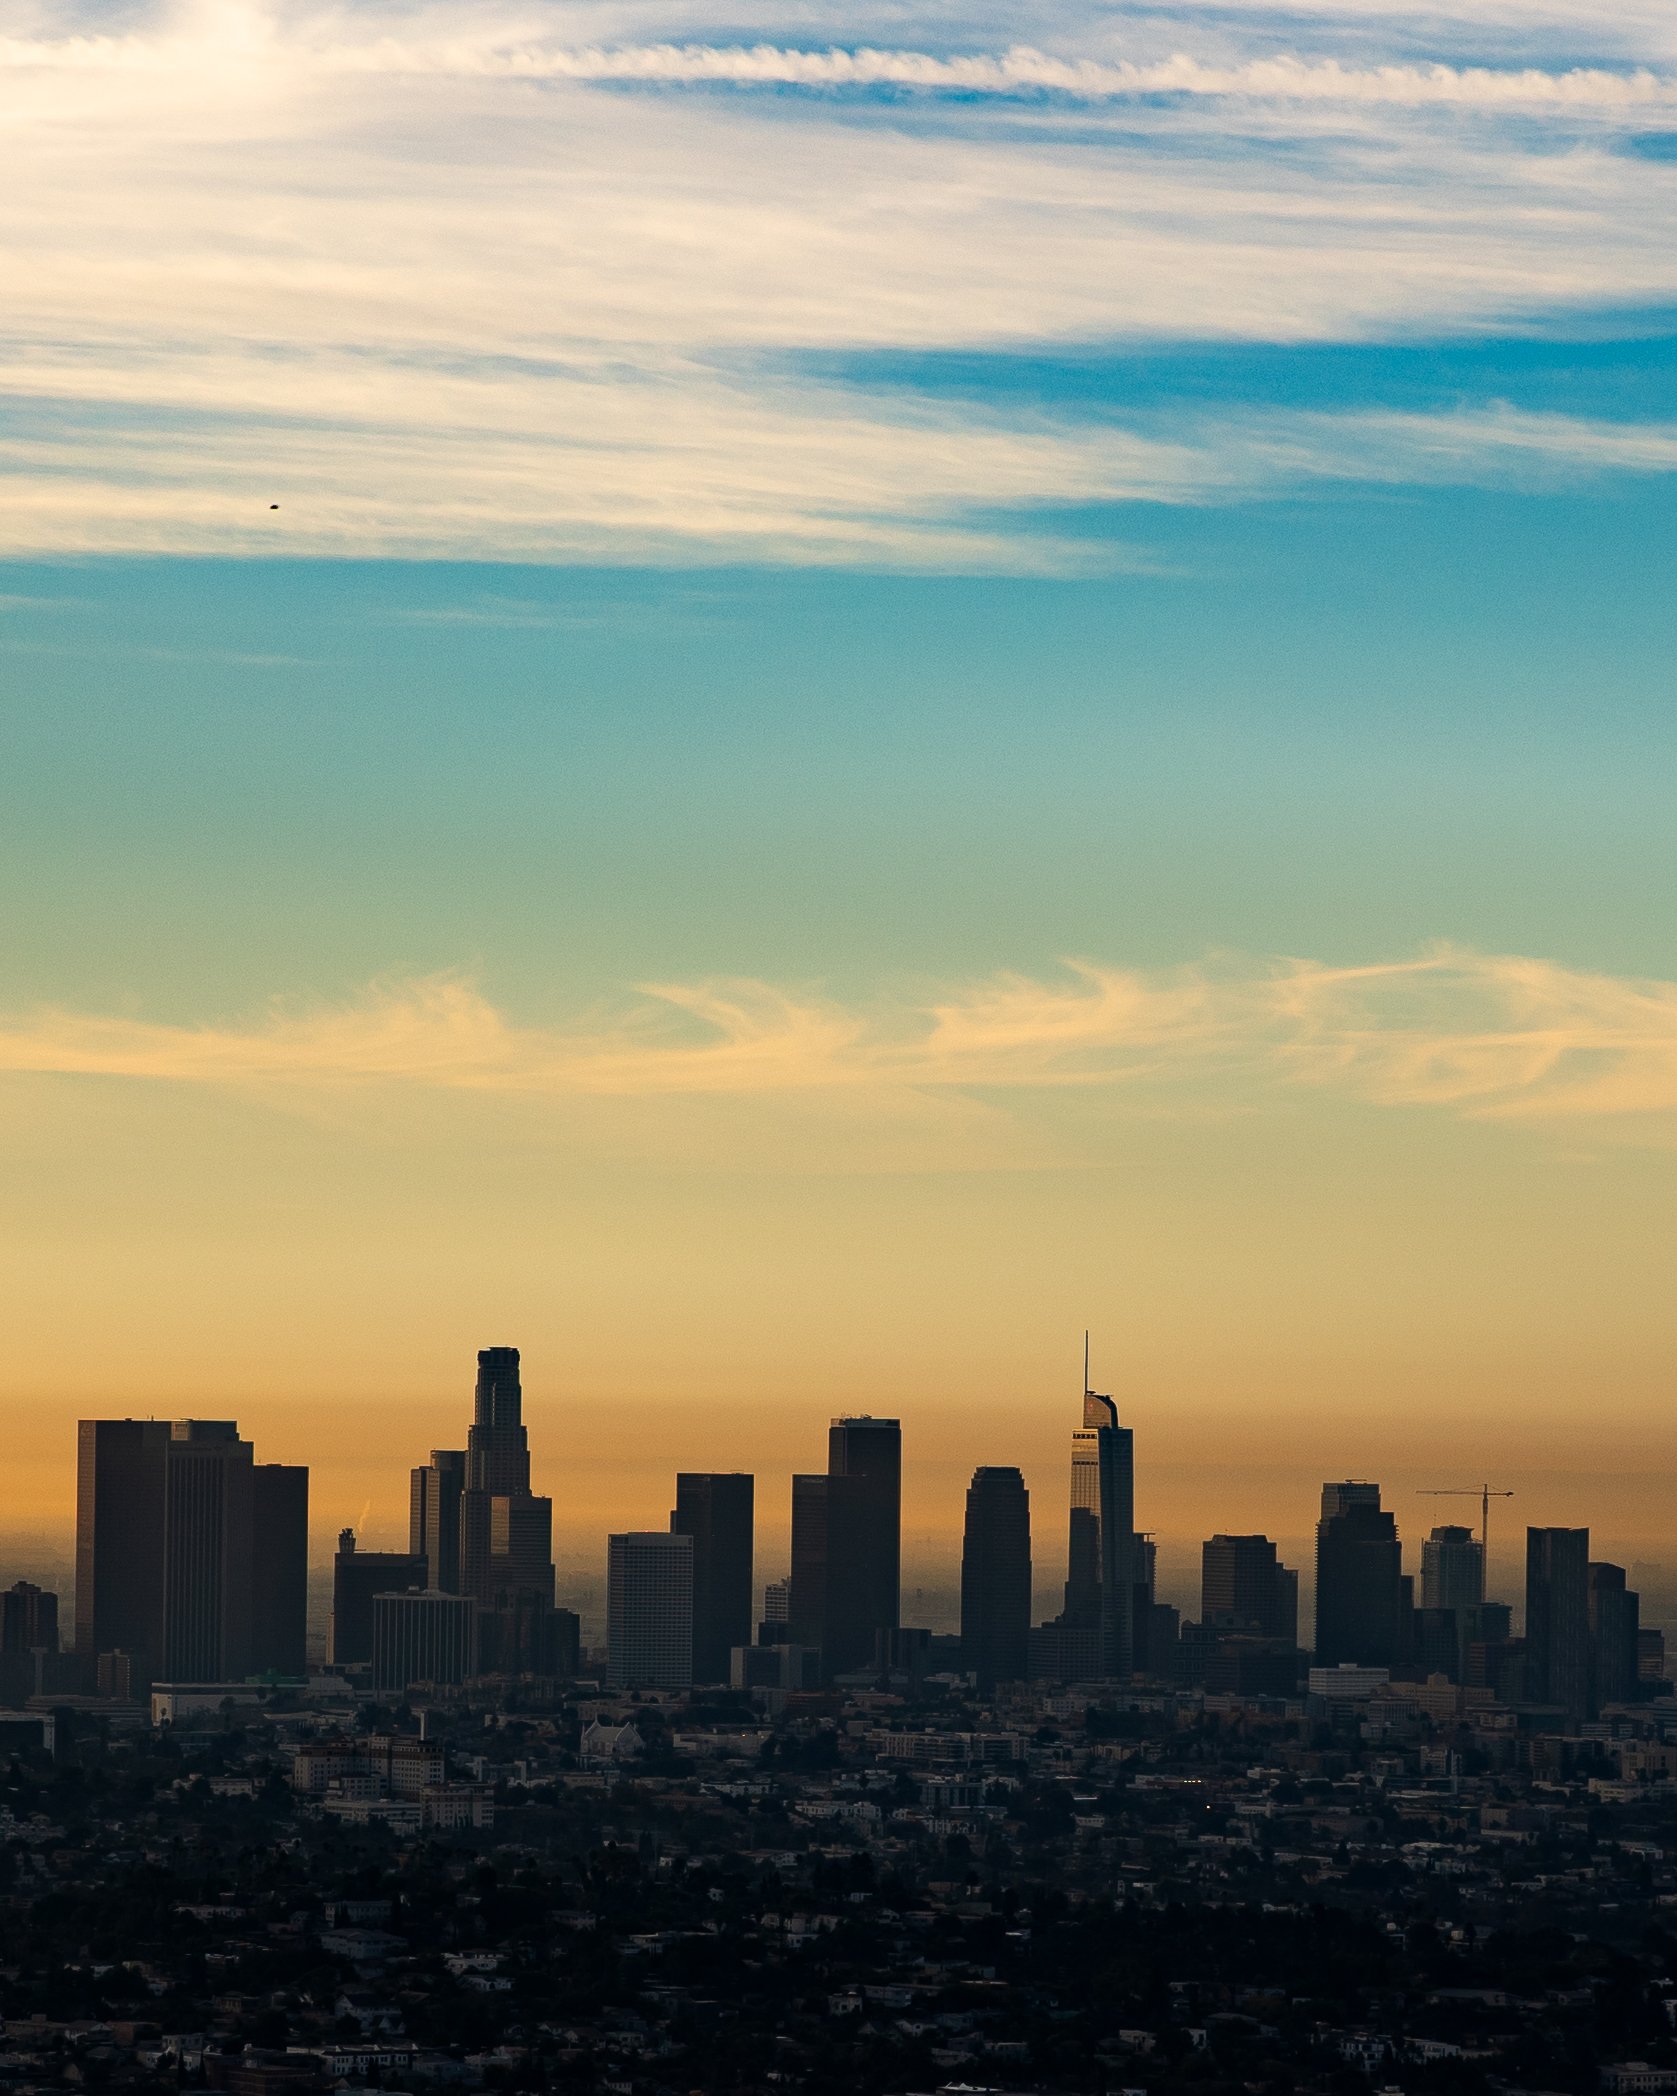
The LA preset captures the essence of golden hour in the city – warm, soft, and effortlessly cool. Inspired by the sunsets and hazy skylines of Los Angeles, this preset enhances natural light, adding a subtle golden tint to highlights while keeping shadows deep and moody. Perfect for portraits, cityscapes, and skyline shots, it brings out the vibrance in skies and skin tones, creating that unmistakable West Coast glow.
Whether you're shooting downtown or on a hill overlooking the city, LA adds a cinematic touch to your edits, making every photo feel like it belongs on a billboard.
Best for: Cityscapes, golden hour, urban portraits
Effect: Warm tones, soft highlights, and moody shadows
Compatibility: Lightroom Mobile & Desktop
_______
How to Import .XMP Presets to Lightroom
For Lightroom Desktop (Classic & CC):
Open Lightroom
Launch Lightroom and switch to the Develop module.
(Shortcut: Press “D” on your keyboard).
Locate the Presets Panel
Look at the left side of the screen for the Presets panel.
If it’s hidden, click the small triangle to expand it.
Import Preset
Click the + button next to Presets and select Import Presets…
(It will open a file explorer window.)
Select the .XMP File
Navigate to where you saved the .xmp file (likely your Downloads folder).
Select the file and click Import.
Apply the Preset
The preset will now appear in the User Presets folder.
Click on the preset to apply it to any photo
For Lightroom Mobile
Sync from Desktop
Import the .xmp file into Lightroom Desktop by following the steps above.
Lightroom will automatically sync your presets to the mobile app.
(Ensure you’re signed into the same Adobe account on both devices.)
Open Lightroom Mobile
Launch the Lightroom app on your phone.
Select a Photo
Tap any photo from your library to start editing.
Apply Preset
Scroll to the Presets tab at the bottom.
Tap User Presets to find your imported preset.
Select and apply!
LA – Lightroom Preset
The LA preset captures the essence of golden hour in the city – warm, soft, and effortlessly cool. Inspired by the sunsets and hazy skylines of Los Angeles, this preset enhances natural light, adding a subtle golden tint to highlights while keeping shadows deep and moody. Perfect for portraits, cityscapes, and skyline shots, it brings out the vibrance in skies and skin tones, creating that unmistakable West Coast glow.
Whether you're shooting downtown or on a hill overlooking the city, LA adds a cinematic touch to your edits, making every photo feel like it belongs on a billboard.
Best for: Cityscapes, golden hour, urban portraits
Effect: Warm tones, soft highlights, and moody shadows
Compatibility: Lightroom Mobile & Desktop
_______
How to Import .XMP Presets to Lightroom
For Lightroom Desktop (Classic & CC):
Open Lightroom
Launch Lightroom and switch to the Develop module.
(Shortcut: Press “D” on your keyboard).
Locate the Presets Panel
Look at the left side of the screen for the Presets panel.
If it’s hidden, click the small triangle to expand it.
Import Preset
Click the + button next to Presets and select Import Presets…
(It will open a file explorer window.)
Select the .XMP File
Navigate to where you saved the .xmp file (likely your Downloads folder).
Select the file and click Import.
Apply the Preset
The preset will now appear in the User Presets folder.
Click on the preset to apply it to any photo
For Lightroom Mobile
Sync from Desktop
Import the .xmp file into Lightroom Desktop by following the steps above.
Lightroom will automatically sync your presets to the mobile app.
(Ensure you’re signed into the same Adobe account on both devices.)
Open Lightroom Mobile
Launch the Lightroom app on your phone.
Select a Photo
Tap any photo from your library to start editing.
Apply Preset
Scroll to the Presets tab at the bottom.
Tap User Presets to find your imported preset.
Select and apply!